Plastering is an art form. You need the right tools to achieve a smooth, professional finish. Using the wrong tools won’t give you the results you are hoping to achieve. Whether you’re a DIY enthusiast or a seasoned plastering professional, proper equipment is the key to a flawless ceiling or walls. In this post, we’ll explore 9 must-have tools every plasterer should have in their arsenal.
1. Trowels
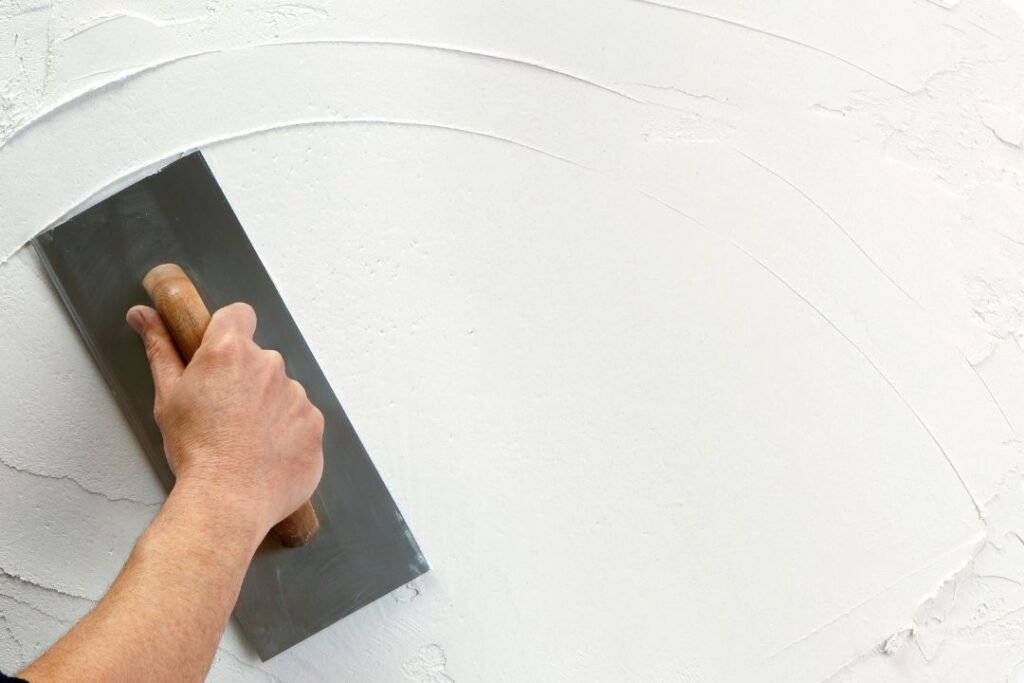
Trowels are the primary tool for every plasterer. Different types of trowels serve different purposes:
- Finishing trowels: Used for smoothing and finishing the plaster.
- Skimming trowels: Used for applying a thin layer of finishing plaster on top of a base coat.
- Corner trowels: Ideal for creating clean and sharp corners.
When choosing a trowel, consider several factors such as the type of work you’re doing, blade size, and material. You should also choose a trowel that’s comfortable to handle as you’ll use this for extended periods. Explore this wide range of trowels from Bunnings and see which one fits your project.
2. Hawk
A hawk is a square tool used to hold plaster while you work, making it easy to access whilst you work. With a hawk, you don’t have to constantly bend down to get plaster. Choose one with a comfortable handle so it doesn’t strain your wrist. The size should also match your hand and the amount of plaster you’re working with. Holding a hawk can cause hand fatigue so make sure to hold it in a comfortable angle to put less pressure on your wrist.
3. Mixing Drill
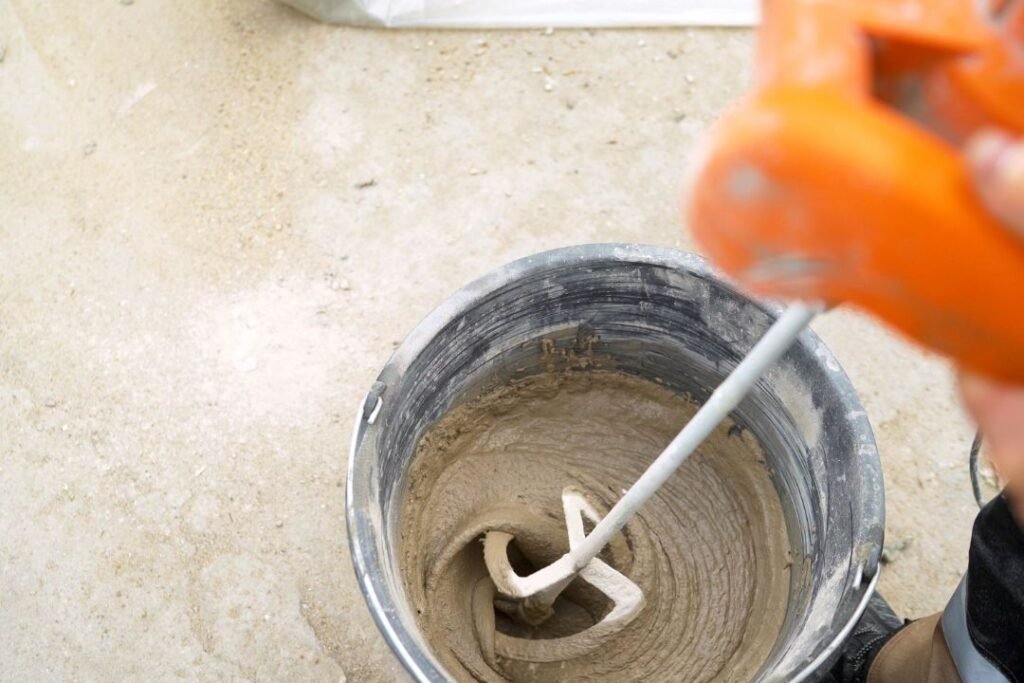
Properly mixing plaster is important to achieve a smooth, even finish. To get the right consistency, you also need the right mixing tools. A mixing drill with a paddle attachment is a great tool for preparing plaster. This ensures a consistent mix and saves you time and effort.
To properly mix plaster, add dry plaster into a bucket and gradually add water while using the mixing drill. Avoid getting air bubbles in your plaster and eliminate any lumps by mixing at a steady speed.
4. Plastering Float
A plastering float is used in smoothing and levelling plaster after it is applied. This tool ensures that the plaster has the same thickness across the surface. To use a float effectively, apply consistent pressure when you’re smoothing out the plaster. You should also work in a circular motion to blend the plaster seamlessly into the surrounding surface.
5. Jointing and Taping Knives
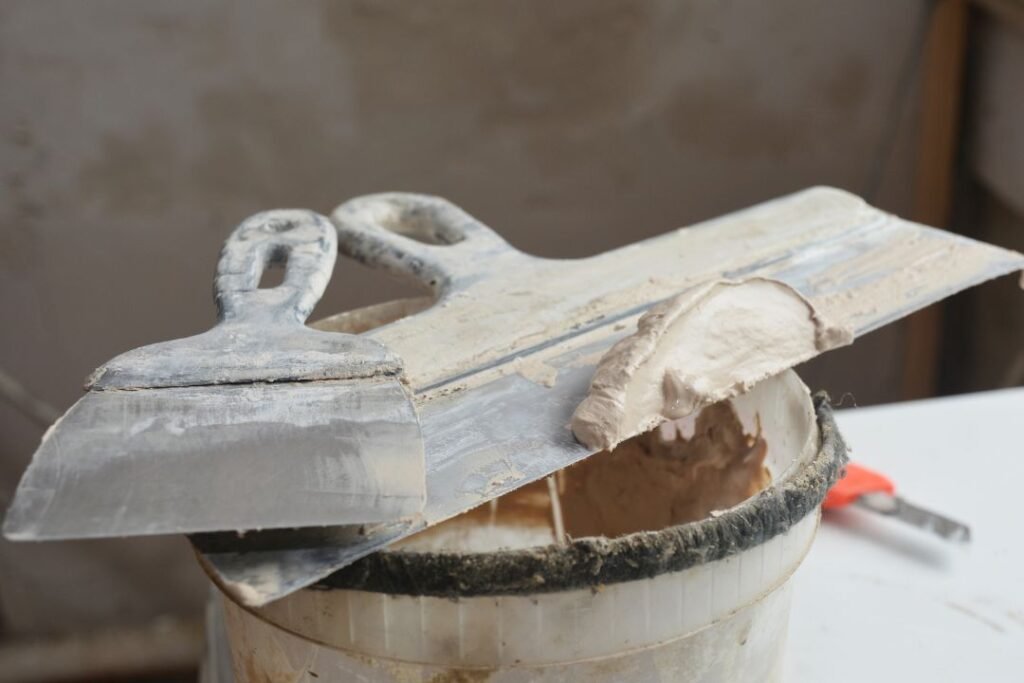
A jointing knife is used to smoothen joint compounds evenly to fill in imperfections in the walls or ceilings which is great for repairing minor damages. It’s smaller in size and is best for reaching crevices and other smaller spaces. A joint knife is rounded with a sloping side, designed to fit corners. On the other hand, a taping knife is larger than a joint knife and is great for finishing. Since smaller knives tend to leave more marks and uneven surfaces, a taping knife does the job of smoothing those marks out, making the surface smoother and more even.
6. Water Brush
A water brush is usually used for finishing touches in the plastering job. When the plaster starts to dry, it can be dragged or pulled away from the surface. This could lead to an uneven finish and make it difficult to achieve a smooth coat. Using water helps keep the plaster workable for a longer period, ensuring a better finish.
7. Bucket Trowel
Bucket trowels are used to scoop out plaster from the bucket and onto the hawk or trowel. These make the process of transferring plaster much easier and more efficient. If you’re choosing a bucket trowel, make sure that it’s sturdy as wet plaster is heavy. You should also look for one with a comfortable handle to avoid hand fatigue when scooping plaster for hours. Prevent the hardening of plaster by cleaning the bucket trowel after each use.
8. Sanding Tools
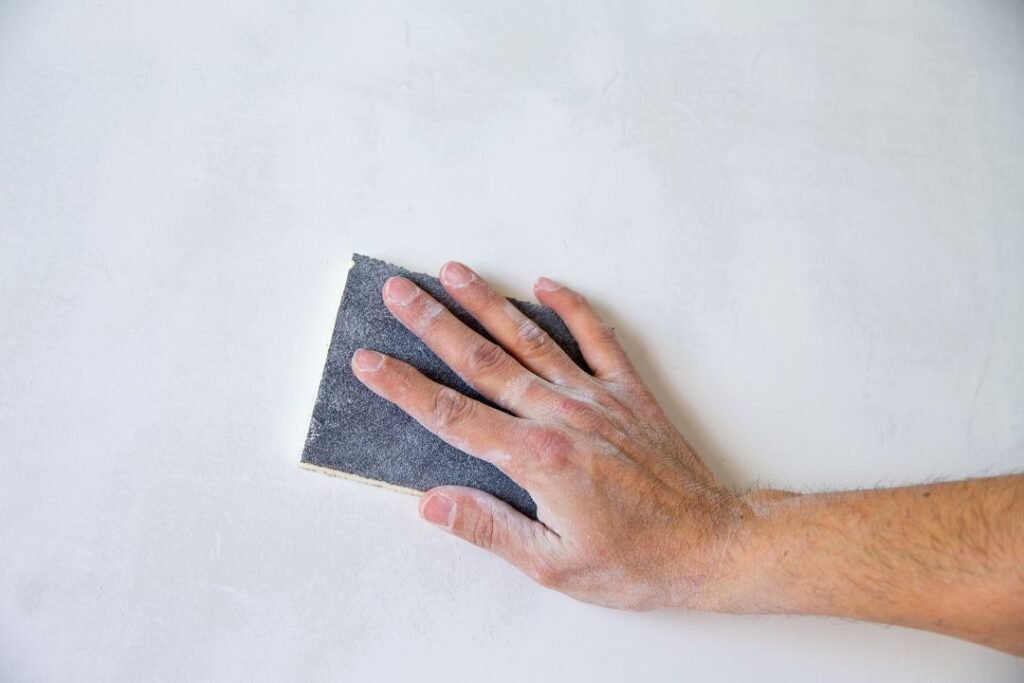
Sanding tools are essential when you want to achieve a professional and smooth finish on your surfaces. You can either choose manual sanding tools or electric sanders. Manual sanding tools include sandpaper sheets and sanding blocks. They’re cheaper and easy to use, making it a cost-effective option. Just apply an even pressure while moving back and forth across the surface.
On the other hand, electric or power sanders make the sanding process faster and easier. They are especially great for large surfaces, shortening the time to sand down the surface. There are different electric sanders designed for different purposes so choose one that’s appropriate for your project. You’ll also need to be more careful in using electric sanders since there’s a tendency to sand too much or create uneven textures. For a wide selection of professional plaster sanders, check these power sander options.
Conclusion
Investing in the right tools can make a great difference in your plastering project. From trowels to sanding tools, each of these tools makes the plastering process much more efficient. By being familiar with their purpose, these must-have tools can greatly improve your skills and achieve flawless results. Don’t forget to maintain them properly so you can extend their lifespan and remember to use safety gear such as dust masks, and eye protection while plastering. Get a smooth and flawless finish with the right tools and equipment.


