When you need plastering done, it’s best to rely on a professional, especially if you’re installing entirely new sections. The goal with any plaster work is to ensure a smooth surface that is ready for painting, and ultimately a surface that no one can tell where the joins are, one that fits seamlessly together. While professionals make it look easy, it rarely is.
The wet areas of your home are especially prone to damage when the plastering isn’t done correctly. That’s why there are special rules and regulations for ensuring the materials are appropriate for the wet areas in order to protect your investment for the long haul.
We’ll cover what wet areas are, how these surfaces are prepared, and everything else you need to know about wet-area plastering. Read on for all the essential information.
What is classified as a wet area?
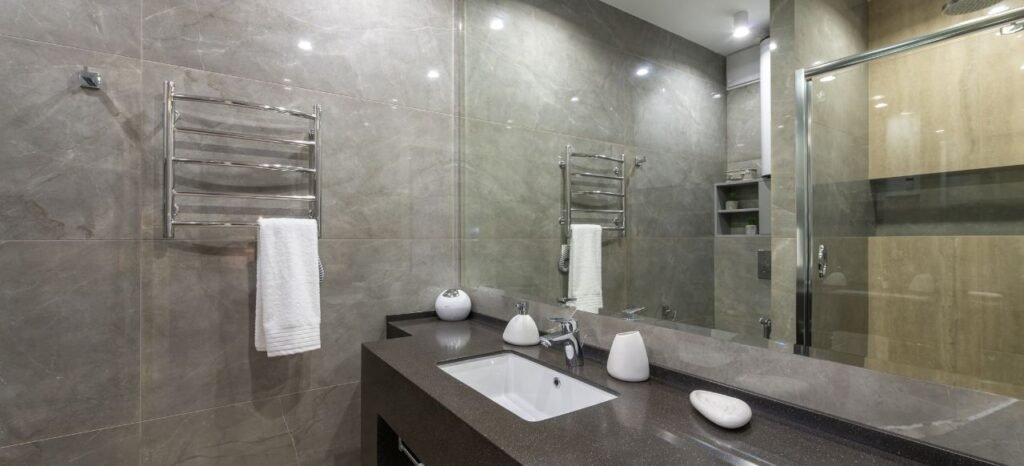
Wet areas are those in your home that are purposefully supplied with water from an exterior source. In other words, rooms like your bathroom and laundry. Within the bathroom, you also have shower and bathtub areas. However, despite being supplied with water, the kitchen is not included in this category.
How is the surface prepared?
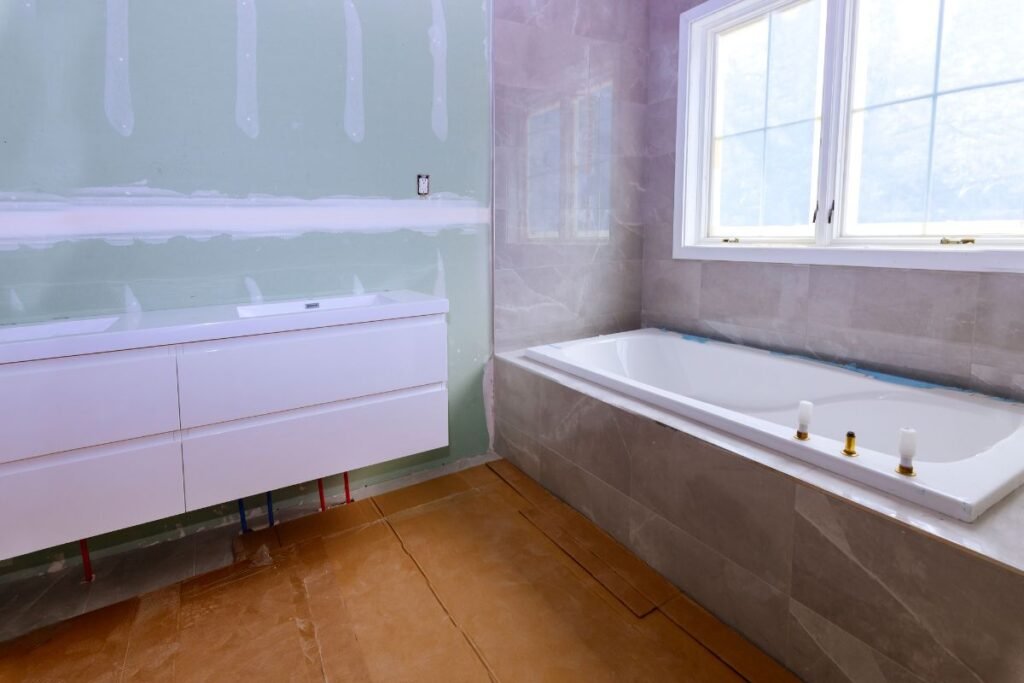
Before an area is plastered, the surface needs to be properly prepared, which entails waterproofing by qualified contractors. A waterproof membrane is applied, generally done in the form of a liquid application. All work must be up to the standard of AS/NZS 4858:2004 for waterproof membranes and be installed strictly by the requirements set forth by the manufacturer.
Different areas will require specific measurements. For example, the shower area requires the waterproof membrane to be installed to 1800 mm high. In the area behind the sink, it must be to 150 mm high.
Once your waterproofing is completed and ready for the next step, then a plasterer will install the wet area plasterboard as required, or perhaps you’re getting floor to ceiling tiles installed, then a tiler will be involved, it’s up to you and your preferences, the main point being that the surface needs to be properly prepared before any top layers can be installed. This ensures the material’s longevity as it faces regular exposure to water.
Repairing a damaged wet area
Situations can occur that lead to a damaged wet area and leaks. More than a minor inconvenience to clean up, problems such as leaks in wet areas can cause a lot of headaches and be very costly. With water penetrating the walls, you could be facing severe structural damage, to framing and studs, any surface will be exposed to the moisture eventually, leading to faster deterioration and mould.
To have lasting, effective wet area repairs completed, your tiles and plaster will need to be removed to assess the wood frame of the wall beneath. All damage will need to be addressed before a new waterproof membrane is applied. After that is completed, the new plasterboard can be installed.
Unfortunately, this process will often require the work of several trades to get the final look you want to achieve for your wet area. Ensuring you hire reputable, licensed companies for the job the first time around can go a long way to preventing this kind of damage from happening.
Signs that your wall or ceiling is not coping with the moisture of your wet area
You’ll often have clear signs that your wall or ceiling isn’t holding up well to the moisture in your wet area. One of the most significant indicators is mould development on the surfaces. While this is ugly to look at, the problem is much bigger—mould can cause severe health problems when it’s not quickly addressed.
Other things to watch out for are stains and peeling paint. As moisture builds up in the material, it can cause discolouration, leaving unsightly marks on your plaster. Additionally, excess moisture can lead to your walls and ceiling’s paint peeling because it no longer has a good grip on the plaster. Tiles that begin to lift are another sign that moisture has gotten under the surface, making the material swell in areas that have soaked up the moisture.
What to do to ensure your wet area is durable
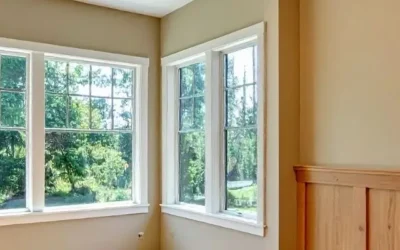
The good news is that you can do several things to ensure the durability of your wet area. First, you’ll want to make sure you have working exhaust fans to minimise the buildup of humidity and moisture in rooms like the bathroom. In other rooms, you can have windows installed that allow you to exchange fresh, dry air with the outside, which reduces the amount of moisture in the room.

It’s a critical step in the longevity of your wet area renovation that the tradespeople you hire are licensed and qualified to complete the work. If the waterproofing isn’t installed appropriately, your wet area will not withstand the daily exposure to water and humidity, causing you to need repairs or replacement sooner rather than later.
Because of this, it’s essential to rely on a trusted professional with the knowledge and skills to complete the job effortlessly. While saving money with a DIY project or hiring an unskilled individual may cross your mind, it’s rarely a good idea because of all the intricacies involved.
Ensure your wet area plastering is built to last
When you plan to renovate your wet area, don’t settle for less than the best. You need high-quality services that come with the best materials available. This will guarantee quality results that perform for many years without leaks or costly, preventable problems.