Damp spots and mould patches on plasterboard are something many Sydney homeowners notice at one point or another. The climate creates the perfect conditions for moisture to linger, especially during humid summers, rainy spells, and colder months when homes are closed and ventilation is limited. Older homes with ageing materials often show signs first, but even modern homes and apartments can develop problems when small leaks or condensation begin to build up behind walls.
The reassuring part is that most cases can be fixed before they become major issues. The key is understanding what causes dampness, how to spot early warning signs, and when simple cleaning will do, versus when the plasterboard needs proper repair. NSW Health notes that indoor mould exposure can lead to a number of health issues especially for those who have asthma or allergies, which makes early attention and problem-solving important.
In this guide, we break it down in an easy way, so you can protect your home and deal with mould before it spreads.
What Causes Damp and Mould in Plasterboard Walls?
Plasterboard absorbs moisture easily, so even small amounts of water can leave visible marks on the surface. Here are the most common causes in Sydney homes:
Water Leaks
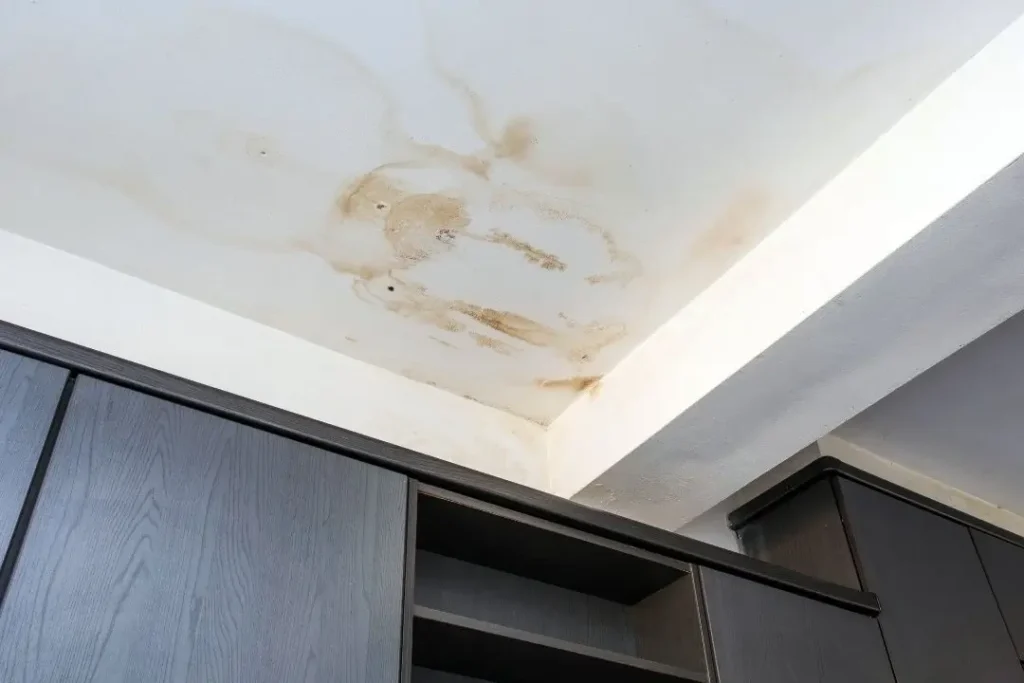
Leaking roofs, balconies, bathroom waterproofing failures, and burst pipes are frequent culprits. Slow leaks are especially tricky because they can sit behind the wall for weeks or months before anything becomes visible. Once the plasterboard absorbs enough moisture, you may notice brown patches, mould growth, bubbling paint, or soft spots on the surface.
Condensation
Condensation forms when warm indoor air meets cooler wall surfaces, causing water droplets to appear. It’s most common in bathrooms, laundries, and bedrooms with poor air movement. You might see mould streaks, staining, or repeated bubbling around external walls or window lines, particularly during colder months.
Rising Damp
Some older homes have ageing or ineffective damp courses, allowing ground moisture to creep upward into walls. Signs often begin near skirting boards and slowly spread higher. The plaster may crumble, become powdery, or show tide marks as moisture continues to travel upward.
Poor Ventilation or Blocked Airflow
Sometimes, the issue is not a leak at all. When furniture is pushed tightly against walls, or when homes are sealed too tightly for energy efficiency, air circulation drops and moisture becomes trapped. Newer airtight or passive-house inspired builds often compensate for this through controlled ventilation to stop moisture settling behind plasterboard.
Cosmetic or Structural? How to Tell the Difference
Not all damp or mould problems are serious. Some sit on the surface and are caused by everyday humidity. Others indicate deeper moisture inside the wall that needs proper repair. Knowing which one you’re looking at helps you decide what to do next.

Cosmetic Moisture Issues
Surface-level mould or staining is usually easy to spot. It tends to:
- Wipe away with cleaner
- Feel dry or firm to the touch
- Stop spreading once the area dries out
These cases are often caused by poor airflow, daily condensation, or minor bathroom humidity. Cleaning and repainting with mould-resistant paint can solve if the source has already been dealt with.
Structural or Serious Moisture Issues
Deeper moisture damage shows up differently. Warning signs include:
- Plasterboard that feels soft, swollen, or crumbly
- Bubbling or sagging sections
- Stains that look darker or deeper inside the wall
- A musty odour that keeps returning
These symptoms indicate that water has soaked into the plasterboard rather than just sitting on the surface. Moisture can weaken wall linings in the same way storms weaken ceiling sheets, where the fixings sometimes need re-screwing or oftentimes a full replacement to restore strength.
Red Flags for Hidden Damage
Sometimes the clues are subtle. Watch out for:
- Mould patches that keep expanding
- Paint peeling only in certain sections
- Stains or watermarks appearing after rain
These hints suggest moisture is still present behind the wall rather than only on the surface.
When Cleaning or Repainting is Enough
Some mould patches are only on the paint surface and do not affect the plasterboard underneath. This is common in areas with condensation or everyday humidity:
You can usually clean and repaint when:
- The wall feels solid
- Stains wipe away easily
- There’s no lingering odour
- The problem doesn’t return after drying
Treat the area with a mould cleaner, allow it to fully dry and repaint with a mould-resistant product. This approach works well as long as the moisture source has already been fixed.
When You Need Cut-Out and Re-Sheeting
Some moisture problems go deeper than the paint surface. When plasterboard absorbs water, it loses its strength and becomes a breeding ground for mould. In these situations, replacement is usually the safest and most effective option.
Signs You Need New Plasterboard
You should consider cut-out and re-sheeting if:
- The plasterboard feels soft, swollen, or sagging
- Mould keeps returning even after cleaning
- Stains are dark, spreading, or coming from inside the wall
- The damage was caused by a leak, burst pipe, or rising damp
Why Replacement Matters
Once plasterboard has absorbed moisture, it can’t dry back to its original condition. Soft areas continue to deteriorate, mould can spread into framing, and the wall may become unsafe over time. Replacing affected sections helps prevent further damage, protects indoor air quality, and restores the wall to a stable condition.
The Proper Repair Process: What a Professional Plasterer Does
When moisture damage goes beyond the surface, a proper repair involves more than just patching and paint. A plasterer assesses both the wall lining and what’s happening behind to ensure the issue doesn’t come back. Here’s what the process typically looks like:
1. Inspect and Identify the Moisture Source
The first step is to confirm where the water came from. This involves visual checks, moisture readings, or leak detection if the problem isn’t obvious. Fixing the source is essential before any repairs begin.
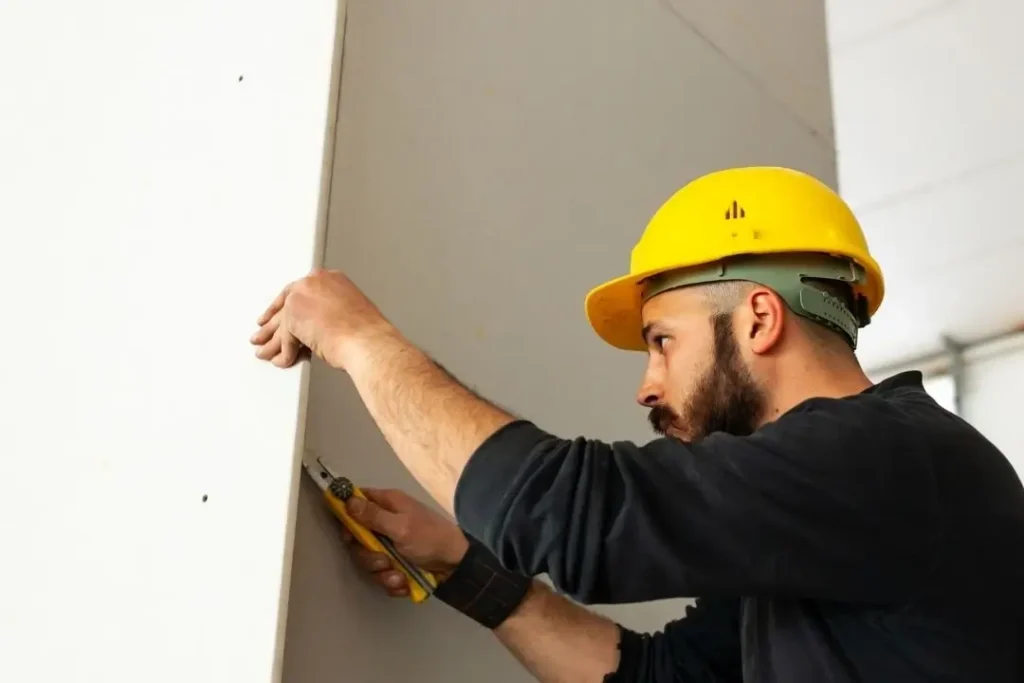
2. Cut Out and Remove Damaged Plasterboard
Affected sections are removed until the plasterboard is dry and solid again. Any mould material is safely disposed of so it doesn’t spread.
3. Re-Sheeting the Area
New plasterboard is installed and matched to the existing wall. Moisture-resistant board may be used in bathrooms, laundries, or other wet areas for extra protection.
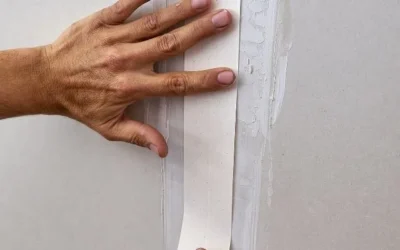
4. Setting, Sanding, and Finishing
The new sheet is taped, set, and sanded to achieve a smooth finish that blends into the surrounding surface.
5. Painting or Sealing
Finally, the repaired area is primed and painted. Mould-resistant coatings are often recommended in rooms with higher humidity to reduce the chance of mould returning.
Prevention Tips for Damp and Mould in Sydney Homes
Once the plasterboard has been repaired or replaced, a few simple habits can help stop the same issue from coming back. Because Sydney homes experience humidity, seasonal rain, and varying temperatures, prevention often comes down to airflow and moisture control.
Helpful steps include:
- Improve ventilation by using exhaust fans in bathrooms and kitchens, opening windows when weather allows, and installing vents where air tends to stagnate.
- Keep furniture slightly away from walls to allow air movement and prevent condensation from settling behind large items
- Repair leaks quickly rather than waiting for visible damage to appear
- Insulate cold walls to reduce internal condensation during winter
- Use moisture-resistant plasterboard in bathrooms, laundries, or high-risk areas
- Check for warning signs after heavy rain such as stains, peeling, or musty odours
These small habits go a long way toward maintaining dry, healthy plasterboard surfaces throughout your home.
Fix Moisture Issues Before They Spread
Most plasterboard mould and damp problems can be fixed before they turn into major repairs. The key is catching them early. If stains return after cleaning, the wall feels soft or swollen, or there’s a musty smell behind the surface, it’s worth getting a plasterer to assess the damage. A professional can confirm whether the issue is only cosmetic or if the plasterboard has been affected underneath.
Addressing moisture problems sooner not only protects your home, but also prevents mould from spreading or affecting indoor air quality. If you are unsure what you are dealing with, or want a seamless repair that blends with the rest of your walls, reach out for advice. For peace of mind, we provide plaster repairs that address moisture damage properly, not just cover it up.
Contact Paul’s Plastering on 0415 801 028 to book an inspection or request a quote!