Although it’s best to try and prevent wall damage during moving , regardless of how careful you are during a move, accidents happen and sometimes a damaged wall is the result. Scratches, dents, and holes can be an inevitable occurrence when you’re rushing to meet a deadline, moving large furniture, or your removalists are just a bit too overzealous.
This article will focus on the steps to take when addressing post-move wall damage. Read on for everything you need to know about handling those dings and dents whether you are a renter wanting to get your bond back or a homeowner.
Assess and document
One of the first things you’ll need to do after the damage occurs is to assess the level of damage. This is especially important if you’re a tenant who wants to get their bond back. When you move out of a rental, the property manager will do an exit review of the property, taking note of any damages caused during your residency, including the moving period. If the damage is extensive, you may need to organise repairs before the property manager completes their review. Check out our article on who’s responsible to fix wall damages after a tenancy for more information.
Additionally, it’s essential to take photos to document the damage further. This step is essential if you should need to file a claim. If the damage was caused by a professional moving company, the photos will be needed to negotiate with the company for the cost of the repairs. On the other hand, if you’ve caused the damage yourself, you may be able to use the photos to file an insurance claim.
Photos can also be used to discuss the damage with the property manager. They can help determine if the damages are significant enough to prevent you from receiving your bond back or whether it counts as ‘wear and tear’.

Minor scuffs and marks
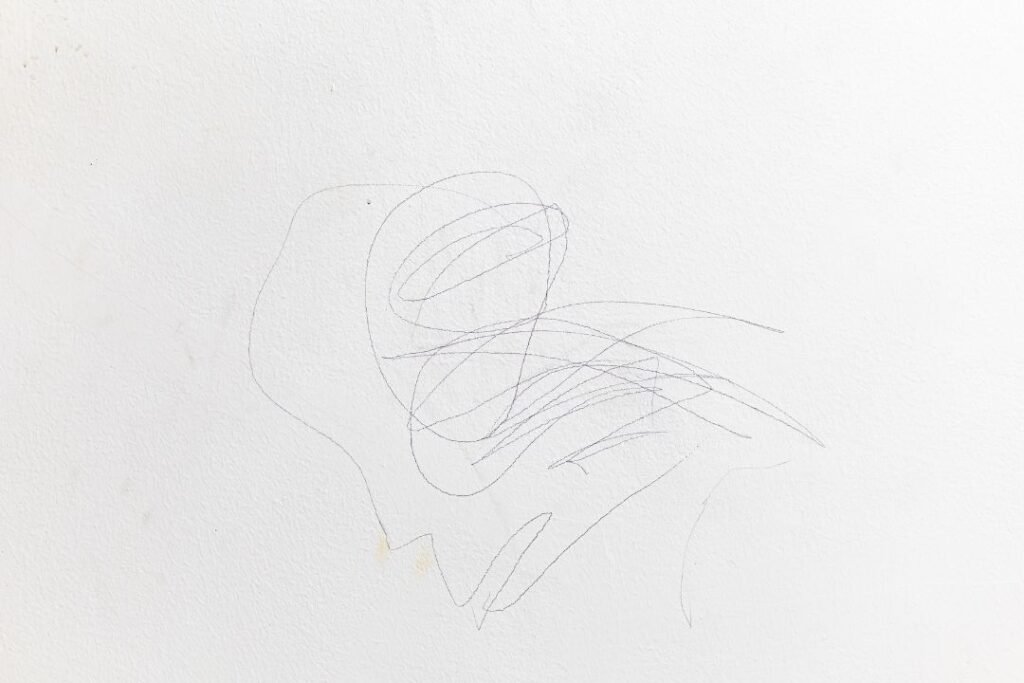
If you’ve only made some minor scuffs or negligible markings on the walls, you can use gentle cleaning methods to remove them. However, it’s very important to test a small area of the wall where no one is likely to notice if the cleaning solution damages the surface. Once you’ve determined the solution is safe to use on the surface and won’t remove existing paint, it’s time to get to work on the marks.
Another option is using Magic Erasers. These are specifically designed to remove scuffs without harming the wall itself. However, they will not tackle some of the harder-to-remove blemishes.
Patch and paint
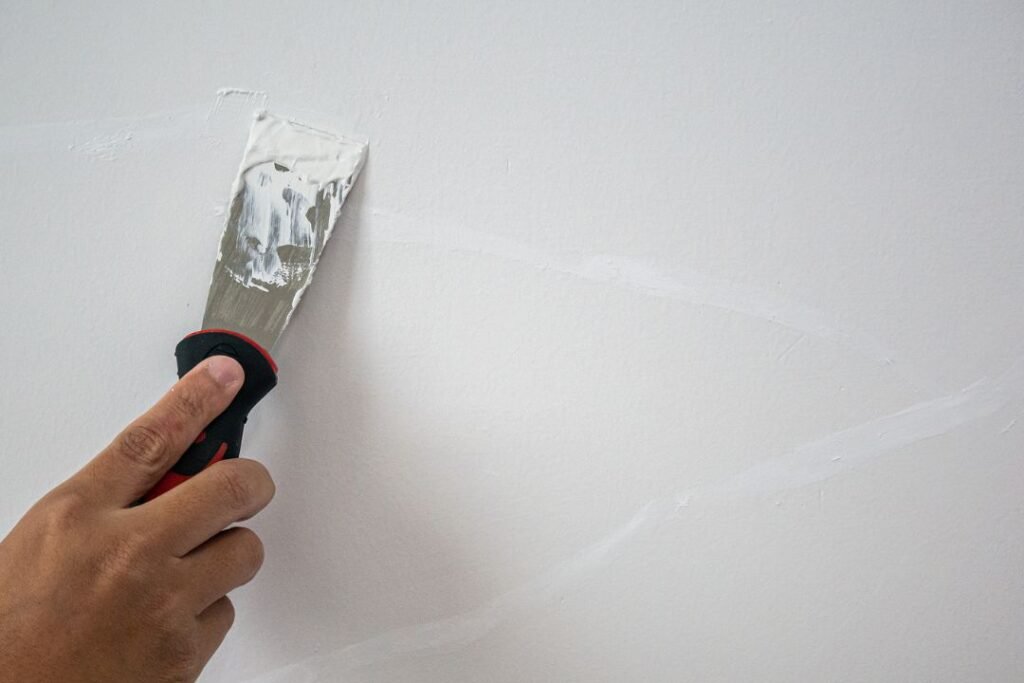
When you take your wall hangings down, you may find you’re left with small holes or dents. These can be caused by things like nails, screws, and picture hooks. Luckily, they are easy to repair DIY with a quick patch and paint job.
You’ll need a lightweight spackling compound like gyprock and paint to match the rest of the wall. Start by filling in the holes with the plaster. Give the compound adequate time to dry. Once it’s dry, sand the area to create a smooth surface.
For the finishing touches, you’ll need to apply the paint. The goal is to make it blend into the rest of the wall as much as possible. Keep in mind that if the damage is a bit more extensive, the end result will be noticeable between a DIY attempt and a professional wall repair services.
Repairing cracks
Anytime you notice a crack in a wall, you need to act quickly to ensure no further damage occurs. This is true whether you are moving or comfortably settled in your home. You’ll need a high-quality wall repair compound to complete this task.
Before getting started, ensure you read the manufacturer’s instructions in their entirety. Then, following the steps provided, fill the cracks in the wall. Once the area is dry, sand it to a smooth finish before painting with a colour that seamlessly blends into the rest of the wall.
In general, cracks do not just spontaneously appear. Sometimes, a rough bump can cause a wall crack, but in most cases, they are considered normal wear and tear. Because of this, as the homeowner or renter, you would be expected to fix them yourself.
Consulting professionals
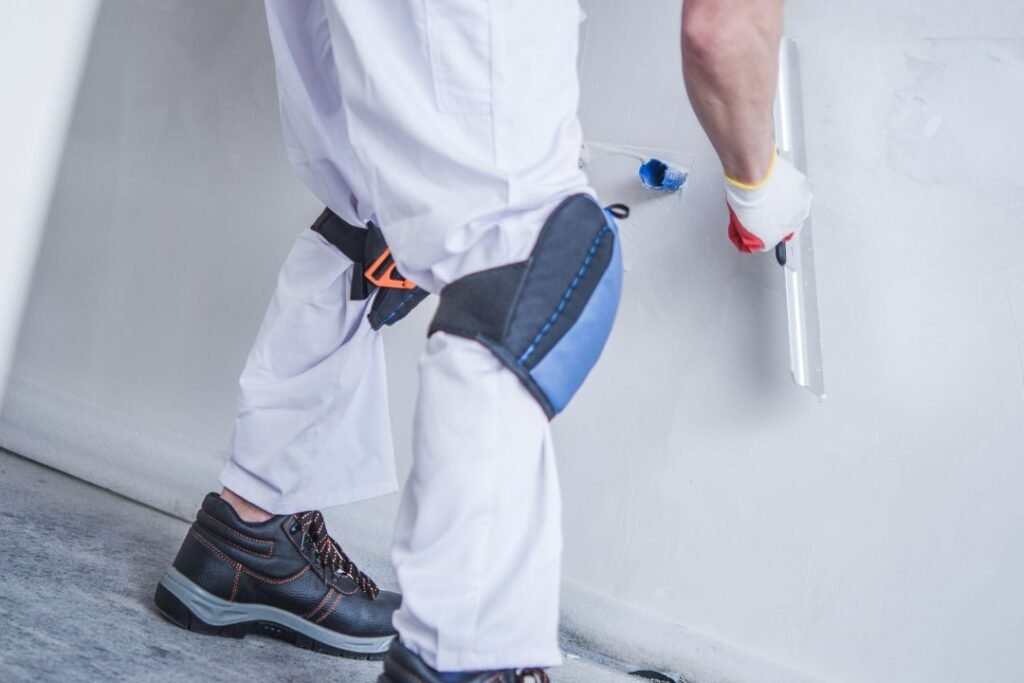
In the event that your wall damage is extensive or there is structural damage involved, for example, if a truck has reversed into the eave or garage wall, it’s best not to handle the project on your own. Instead, consult a professional contractor or plastering expert. These individuals are highly experienced in the field, giving them the skills needed to assess the damage to find the right solution. The repairs they recommend will maintain the wall’s integrity as the surface is restored.
Preventative measures for the future
If you’ve damaged your walls during a move, it’s important to take this opportunity as a learning experience. Use it to implement preventative measures in the future, whether you plan to move again or buy a large piece of furniture that you must manoeuvre into your home. Use wall guards, furniture padding, and protective coverings during any future moves to minimise any risk of damage.