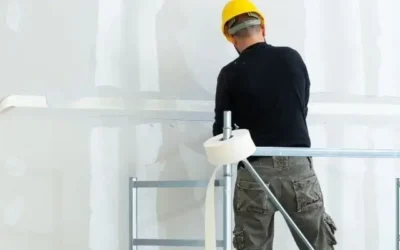
When plastering is done well, you barely notice it. The walls look clean, the ceilings don’t draw attention, and the room feels settled. But when the afternoon sun hits from the side or new lights switch on, the wall or ceiling that looked fine starts to show a faint line, a soft ripple, or the edge of an old patch. Once you notice it, your eyes keep going back to the same spot.
A lot of homeowners notice this right after repainting or upgrading lighting. With Sydney’s strong daylight and the move toward brighter LEDs, surfaces that once looked fine suddenly start showing small imperfections. Once you understand what the light is revealing, most of these issues can be addressed.
Why Some Rooms Look Worse At Certain Times of Day
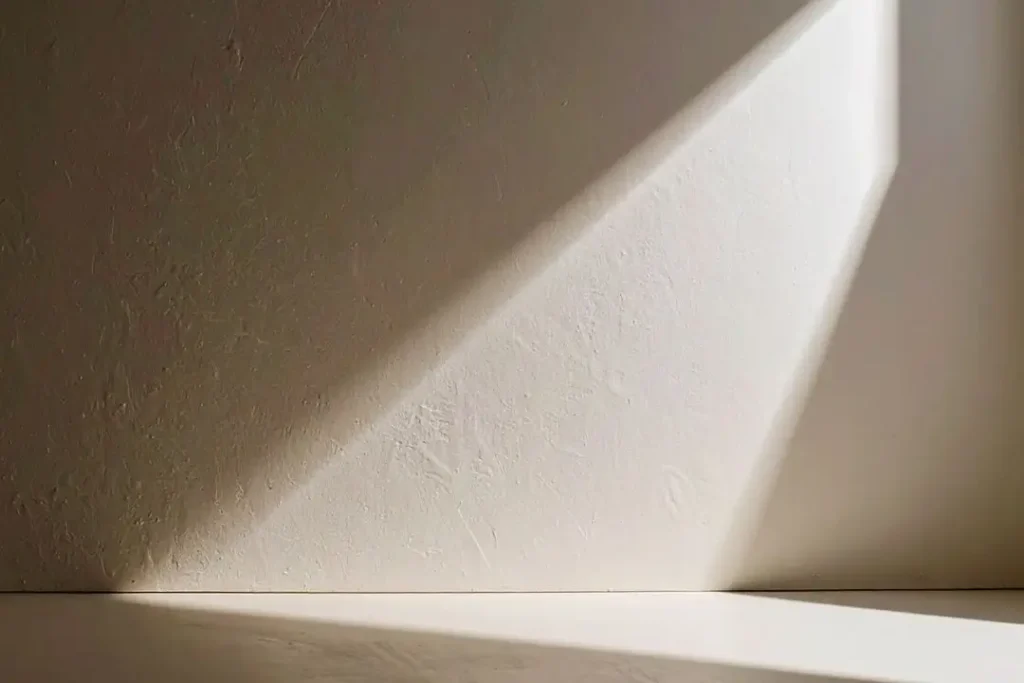
A wall can look smooth and even for most of the day, then suddenly start showing lines or ripples when the light hits it from the side. This is known as glancing or raking light, and it happens when sunlight comes in low through a window or when a downlight spreads light across a wall or ceiling instead of straight at it. The sideways angle throws small shadows across the surface, which makes minor bumps, dips, and edges easier to see.
This isn’t about being picky or imagining problems that weren’t there before. Changes like fresh paint, brighter LED lighting, skylights, or removing heavy curtains can all change how light moves through a room and draw attention to areas that used to blend in. The surface hasn’t changed, but the lighting has, which is why the same wall can look fine at one time of day and uneven at another.

The Common Plastering Defects That Lighting Exposes
Lighting doesn’t cause wall problems, but it’s very good at revealing them. Bright daylight and modern lighting highlight subtle surface issues, especially across large, uninterrupted areas. These are the most common plastering issues that tend to stand out once light starts hitting the surface from the side or above:
- Hairline cracks and movement lines. Fine cracks caused by natural house movement, seasonal changes, or stress around doors and windows often reappear after repainting if not properly supported.
- Visible joints, ridges, and banding. These show up as straight lines or faint “steps” where plasterboard joints weren’t feathered out smoothly. Downlights and strong daylight make the shadowing along those joins much easier to see.
- Flashing and patch marks after repainting. A patch can look smooth until the paint dries, then the repair area shows as a different texture or reflection. This usually happens when the edge isn’t blended far enough or the surface absorbs paint differently from the surrounding wall.
- Bulging or sagging walls and ceilings. Dips, bows, or swelling are often linked to moisture history, such as roof leaks, storms, or ongoing bathroom humidity.
The Lighting Setups That Makes Defects Stand Out
Some lighting arrangements naturally draw attention to wall and ceiling surfaces. These setups don’t cause defects, but they make existing issues easier to see.
Glancing Light From Windows
Sydney homes with north-facing windows can receive strong, low-angle sunlight later in the day. In elevated homes or properties with large glazing and harbour or skyline views, light often travels across internal walls rather than hitting them directly, which is when waves, joint lines, and patch edges start to show. Late afternoon sun is usually when this becomes most noticeable.
Downlights, LEDs, and High Ceilings
Modern LED lighting creates sharper, more directional light than older fittings, and when you’re dealing with feature lighting or set lines of downlights, the way they’re positioned and recessed makes a difference to how the ceiling reads, especially in dropped ceilings with downlights. When downlights are installed in straight lines, especially under high ceilings, even small ridges or dips along a ceiling line can stand out clearly.
Feature Lighting and Renovation Upgrades
Pendant lights, wall washers, strip lighting, and skylights are often added during renovations to improve the look and feel of a space. These features are designed to highlight form and structure, which also means they highlight wall and ceiling flatness. Lighting upgrades often happen after interior lining, which is why defects can show up later in the renovation process.
What Actually Works: Fixes and Prevention That Hold Up Under Real Lighting
When Lighting Changes Can Help (If the Surface is Generally Sound)
If the plastering is in good condition and the issues are minor, adjusting the lighting can sometimes soften how surface variations appear. Diffused fitting spreads light more evenly, reducing harsh shadows along walls and ceilings.
Using multiple light sources instead of a single strong beam also helps balance a room. Mixing downlights with lamps or wall lighting reduces the effect of light raking across one surface, which can make minor texture differences less noticeable.

When the Surface Needs to be Corrected
If visible joint lines, rippling, or patchiness keep showing up under different lighting, the surface itself needs attention. In rooms with strong daylight or directional lighting, paint and minor touch-ups can’t hide uneven planes once light starts hitting from the side. At that point, levelling the surface is often the only way to stop those issues from catching the eye.
This is where a skim coat or what’s commonly known as a Level 5 finish comes in. It’s a higher standard of plastering used in areas with critical lighting, designed to create a more consistent surface that reads flat from different angles. Ceilings, long open-plan walls, corridors, and stair voids are usually where this level of finish makes the biggest difference.
Choosing Finishes That Don’t Highlight Every Ripple
Paint finish has a big influence on how walls and ceilings read under light. Higher-sheen paints reflect more light, which can make small surface variations stand out, especially in rooms with strong daylight or downlights. Lower-sheen finishes like the Dulux Wash&Wear Low Sheen tend to soften reflections and give a more even appearance.
But that doesn’t mean paint can fix an uneven surface on its own. The surface still needs to be prepared properly so the finish sits consistently across the wall or ceiling. Once that’s done, choosing a finish that’s less reflective helps the space feel calmer under everyday lighting.

Matching the Solution to the Cause
Not all wall and ceiling issues behave the same way, even when they look similar once the light hits them. A movement crack is different to old water damage, and a visible joint line isn’t the same as a patch that’s flashing through paint. Treating everything as a surface problem often leads to repeat repairs.
This is where having an experienced Sydney plasterer assess the situation properly becomes important. Factors like the age of the home, renovation history, and lighting conditions all influence the right repair approach. Matching the fix to the actual cause helps walls and ceilings look consistent under everyday light.
What to Take Away When Lighting Exposes Wall Problems
Lighting has a way of telling the truth about walls and ceilings. It doesn’t mean your home is failing, but it does reveal where surfaces aren’t as flat, stable, or well-blended as they need to be. In Sydney homes with bright daylight, modern LEDs, and open layouts, those issues tend to show up more clearly and at the most inconvenient times.
Most of these problems are fixable, but the right fix depends on what’s actually causing the surface to read unevenly. A proper assessment looks at both the condition of the wall or ceiling and how it behaves under real lighting, not just how it looks up close. If you’d like a clear recommendation and a finish that holds up after painting, you can get in touch for a free quote and onsite assessment.
Call 0415 801 028 today to book a free assessment and quote.