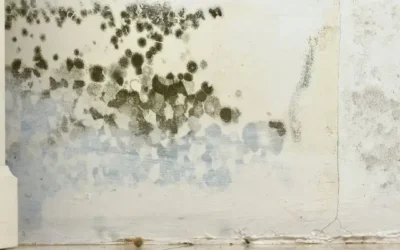
Waterproofing your bathroom should be prioritised to keep its longevity and durability. Improper waterproofing can result in mould, mildew, and rotting of structural timbers which invite costly repairs. In this step-by-step guide, you will learn the essential steps on how to waterproof your bathroom effectively.
1. Demolish Existing Bathroom
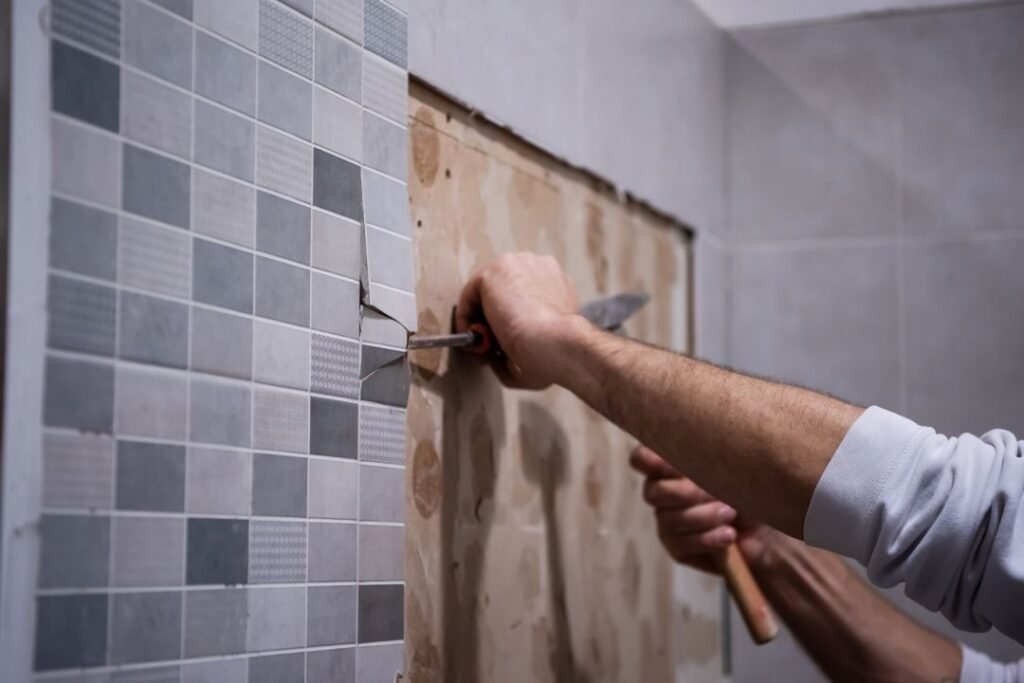
Begin by removing all existing fixtures and tiles. The goal here is to create a blank canvas for the new bathroom. Carefully detach sinks, toilets, showerheads, shower screens and use appropriate tools to remove the tiling. Depending on the condition and construction method of your old bathroom this can be a messy job and result in a lot of collateral damage.
2. Repair Wall Damage
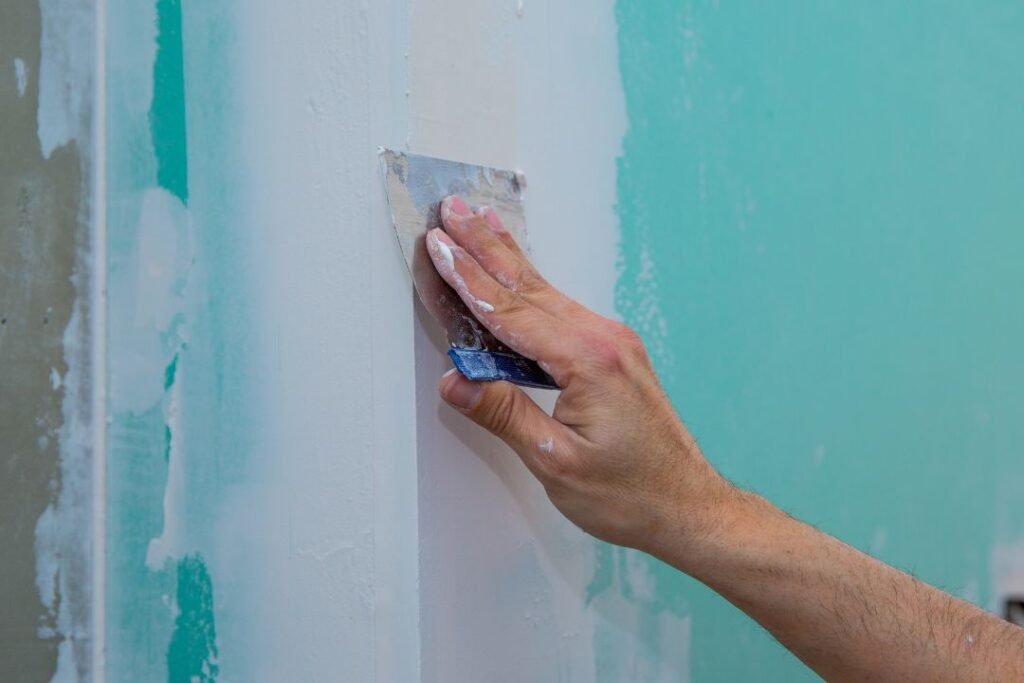
Damage can’t always be avoided, especially when removing wall tiles. Inspect the walls for any signs of cracks, holes, or uneven surfaces. Where necessary remove damaged sections of plasterboard with new plasterboard sheeting. Instead of using standard plasterboard sheeting opt for waterproof plasterboard, especially for shower walls. Also make sure to fix any minor holes or dents which may have occurred during the tile removal process. Check out our post here on how to repair minor wall damage. For more info check out our other blog post about plastering in wet areas. Or hire a professional plasterer to repair your walls for your bathroom renovation.
3. Apply Primer
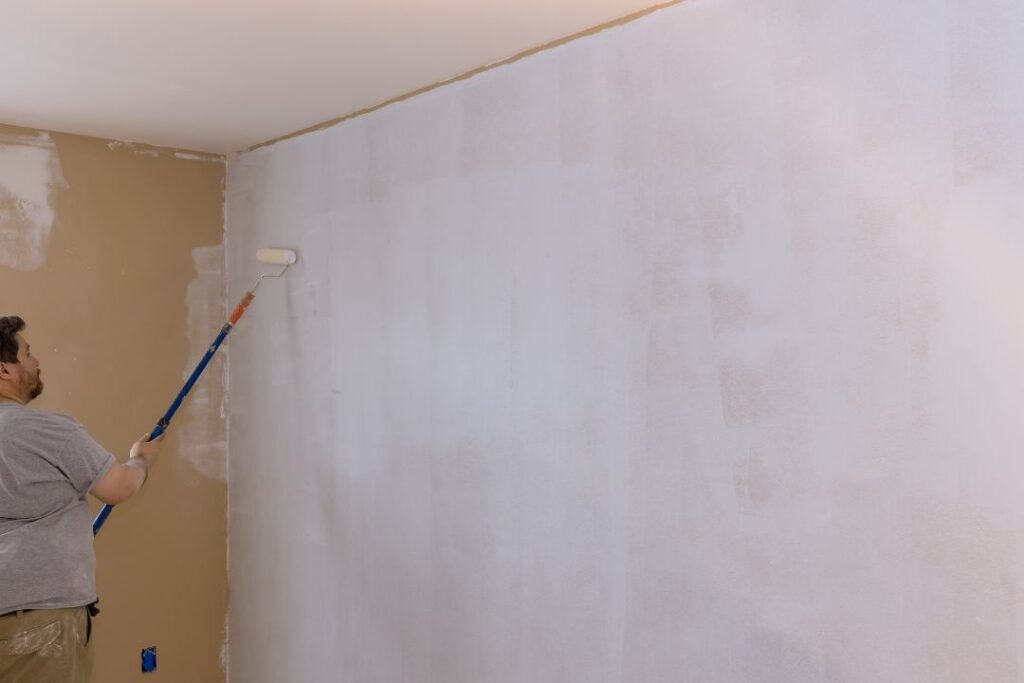
After the plaster from the previous step has dried, and the work area is clean and free from dust it’s time to apply the waterproofing primer. This is so the waterproofing membrane will adhere better. Choose a suitable primer for your membrane. Using a brush or a roller, apply the primer to all areas to be waterproofed. Once complete, let the primer dry according to the manufacturer’s instructions.
4. Install Bond Break On Joints and Corners
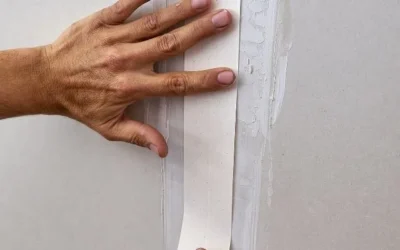
Once the primer has had sufficient time to dry it’s time to add your bond breakers. Installing bond breaking at all joints and corners is important to prevent any movement in the floor or walls from being transferred to the waterproofing membrane which can cause cracks in the membrane compromising the waterproof seal. Secure them with a waterproof sealant to create a barrier at the joints and corners.
5. Apply Waterproof Membrane
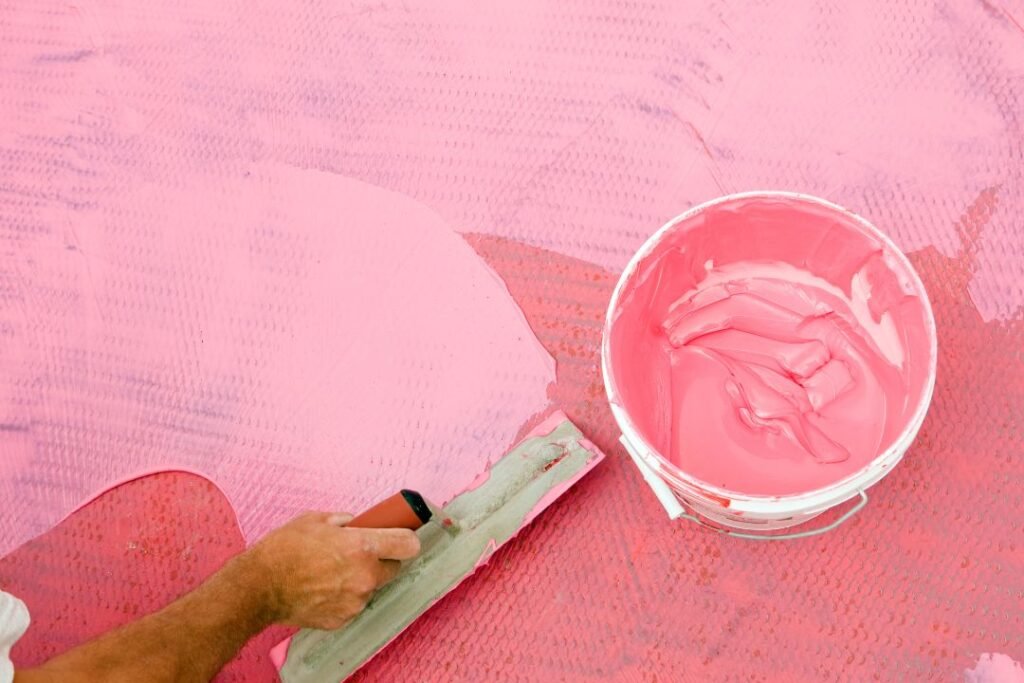
Now, add the waterproof membrane. Make sure you choose a product that is suitable for usage in the bathroom and other wet areas like laundries and kitchens. If you’re not sure where to start check out these options from Ardex Australia. Apply the membrane just like the primer. Make sure that all corners and joints are properly sealed as these are the areas where water usually leaks first. Allow the first coat to dry completely then apply the second coat.
6. Reinstall Tiles & Fixtures
Once the waterproof membrane is completely dry, It’s time to install your new tiles. Reapply the tiles using adhesive, grout, and apply a quality grout sealer to the grout lines to prevent water ingress. Once tiles have been installed you can get to work installing all the other bathroom fixtures such as the shower screen, toilet, vanity, towel rails, toilet roll holders, shaving cabinet etc.
Conclusion
To ensure the longevity of your bathroom, you need to waterproof the space. By following this step-by-step guide, you can protect your bathroom from the destructive nature of water damage. However, if you want to ensure that your bathroom is built properly it’s worth hiring a professional bathroom builder who will take care of the entire process from demolition of the existing bathroom to the finishing touches of the new bathroom.


